Git/Github Tips and Traps
(c) 2018 Julian Wagner and Justin Bois. This work is licensed under a Creative Commons Attribution License CC-BY 4.0. All code contained herein is licensed under an MIT license.
This document was prepared at Caltech with financial support from the Donna and Benjamin M. Rosen Bioengineering Center.

This tutorial was generated from a Jupyter notebook. You can download the notebook here.
Gameplan
For the purposes of this material, it is assumed that the you have already read through the Git/GitHub tutorial provided in Justin's coding bootcamp course and linked in tutorial 0a. That Git tutorial can be accessed here. We begin by reviewing a few of these concepts and then covering some simple tricks to save from a whole host of headaches in using GitHub within your groups. The bulk of this lesson, however, will extend on these materials. Specifically, we cover merging, including using jupytext to deal with the oddities of performing these operations on notebooks. If you are looking for a more in-depth tutorial on various Git concepts, reference this tutorial from software carpentry
Simple practices can save from huge pains
As a first note, follow Justin's suggestion from hw1: 'it is wise to commit and push often.' Pulling frequently is equally important. These practices will go a long way to prevent clashes where two group members have edited the same file at the same time without knowing. Even if you feel that a particular piece of work is not yet finished, commit and push it any time you step away from it. It is much better for a teammate to look at work you might feel insecure about due to its incompleteness than have a horrible merge issue later on.
Use the sandbox exceedingly liberally
One of the most critical tools to avoid clashing with group members work is to use the sandbox provided in your GitHub repository extensively. When doing this, each member can work on a differently named file. For example, I might work on hw3.2_js.ipynb, where the js signifies my initials. Each team member can have their own version of various pieces of the homework for scratch work. The key reason to do this is that you might not know when a team member is working on the same file. If two people are working on the same file at the same time, a merge conflict is certain in the near future. One will push to the repository first, leaving changes that the other does not have in the file they are working with. This means that if the second forces a push, they're changes will be kept at the expense of the other's. Without additional tools (which we will cover below) merging notebooks with disparate changes is not strait forward. Instead, both members can work on their own files in the sandbox, discuss various parts, and combine and edit a final submission when the time comes.
Note that if you open two Jupyter notebooks next to each other in JupyterLab it is quite easy to combine a combined version of a document. This is much better than overwriting each other repeatedly.
Use checkout to avoid destroying others work
When you use separate files for each team member in the sandbox, you will often want to look at and build in the work of your teammates. This means that you will often pull material from the repo and open the notebooks of others. If you run this notebook and poke around in it, you may make a "change" in the document that you do not intend to. If you commit and push this change, you might cause a merge conflict with changes the owner of this file has made since you last pulled. If you insist on pushing, you might destroy another's work. If you check git status and see a change in such a file that you don't want to push, use git checkout FILE_NAME_HERE to discard your non-change-changes and prevent later merge conflicts. Your teammates will thank you!
Preliminary review of Git
If you haven't done so already, make sure to configure your Git parameters. Namely, you must set your contact information and name. Ignore if you already did this when setting up for the class.
git config --global user.name "YOUR NAME"
git config --global user.email "YOUR EMAIL ADDRESS"
Naturally, you fill in the name and email with your details.
For the purposes of this exercise, we will be playing around with a repository set up specifically for practice. Justin recommends to store cloned and forked GitHub repos in a folder called git in your home directory. I will assume this convention for this tutorial. For today, please fork a the repository located at https://github.com/julianmwagner/gitbrachmerge. This can be done in GitHub using the browser, using the 'Fork' button on the upper right side of the page when you navigate to the repository. Select that you want to fork it to your personal GitHub organization, not the BE/Bi 103 one. Once you do this fork, clone the repository by copying the URL and performing
cd ~/git
git clone URL YOU COPIED
You should additionally already be familiar with the following commands from Justin's material from his bootcamp course:
git status
git add
git commit
git push
For additional help with these commands and their uses (as well as a bunch of other useful commands) reference this cheat sheet from GitHub.
Syncing your forked repository to the upstream repository
You want to be able to sync your repository with the original gitbranchmerge repository so you can retrieve any updates in it. The original repository is typically called the upstream repository, since presumably you are changing it, so you are downstream. You want the upstream repository to be a remote repository, which is just what we call a repository we track and fetch and merge from. To see which repositories are remote, do
git remote -v
The -v just means "verbose," so it will also tell you the URLs. Entering that now will show a single repository, origin, which you can fetch from and push to. In your case, origin your fork of the gitbranchmerge repository.
We now want to add the upstream repository. To do this, copy the URL of the original gitbranchmerge repository and then do:
git remote add upstream the_url_you_just_copied
Now try doing git remote -v, and you will see that you are now also tracking the upstream repository.
Now, when you want to pull from the upstream repository, you do
git pull upstream master
This will pull in all the changes from the upstream repository. If you want to pull in changes to your own forked repository, it's still just
git pull
which is shorthand for
git pull origin masterMerging
If possible, avoid merging
As a first note, not having to merge at all is better than merging, especially when working with Jupyter notebooks. The above points are meant to help avoid the need to merge. Here are some more excellent tips on avoiding needing to merge from tutorial from software carpentry. They are the following:
Git’s ability to resolve conflicts is very useful, but conflict resolution costs time and effort, and can introduce errors if conflicts are not resolved correctly. If you find yourself resolving a lot of conflicts in a project, consider these technical approaches to reducing them:
- Pull from upstream more frequently, especially before starting new work
- Use topic branches to segregate work, merging to master when complete
- Make smaller more atomic commits
- Where logically appropriate, break large files into smaller ones so that it is less likely that two authors will alter the same file simultaneously
Conflicts can also be minimized with project management strategies:
- Clarify who is responsible for what areas with your collaborators
- Discuss what order tasks should be carried out in with your collaborators so that tasks expected to change the same lines won’t be worked on simultaneously
- If the conflicts are stylistic churn (e.g. tabs vs. spaces), establish a project convention that is governing and use code style tools (e.g. htmltidy, perltidy, rubocop, etc.) to enforce, if necessary
Daisie Huang and Ivan Gonzalez (eds): "Software Carpentry: Version Control with Git." Version 2016.06, June 2016, https://github.com/swcarpentry/git-novice, 10.5281/zenodo.57467.
Merging with simple text files
Excersise 1
We will first play around with the simplest case of merges by dealing with text files. In the repository you forked, I have included a text file in text_merge/edit_me.txt. We will play around with editing this file concurrently with two people and deal with the resulting merge issues. Open this file with a text editor of some kind and add a few lines. This could be accomplished, for example, with
cd ~/git/gitbranchmerge/text_merge
nano edit_me.txt
When you are done editing the file in nano, you can save with the keystrokes indicated on the bottom of the editor and then exit.
In the mean time, I have also edited this document, committed, and pushed it to the upstream master repo. If you pull from the upstream master, you will get a prompt to merge. Try this now.
git pull uptream masterGit will indicate that it is automerging the edit_me.txt file. It updates the local file based on what it pulled from the upstream source. To handle this merge, you need to manually edit the document and deal with the discrepancies. Otherwise, you'll end up publishing material with merge issues like this:
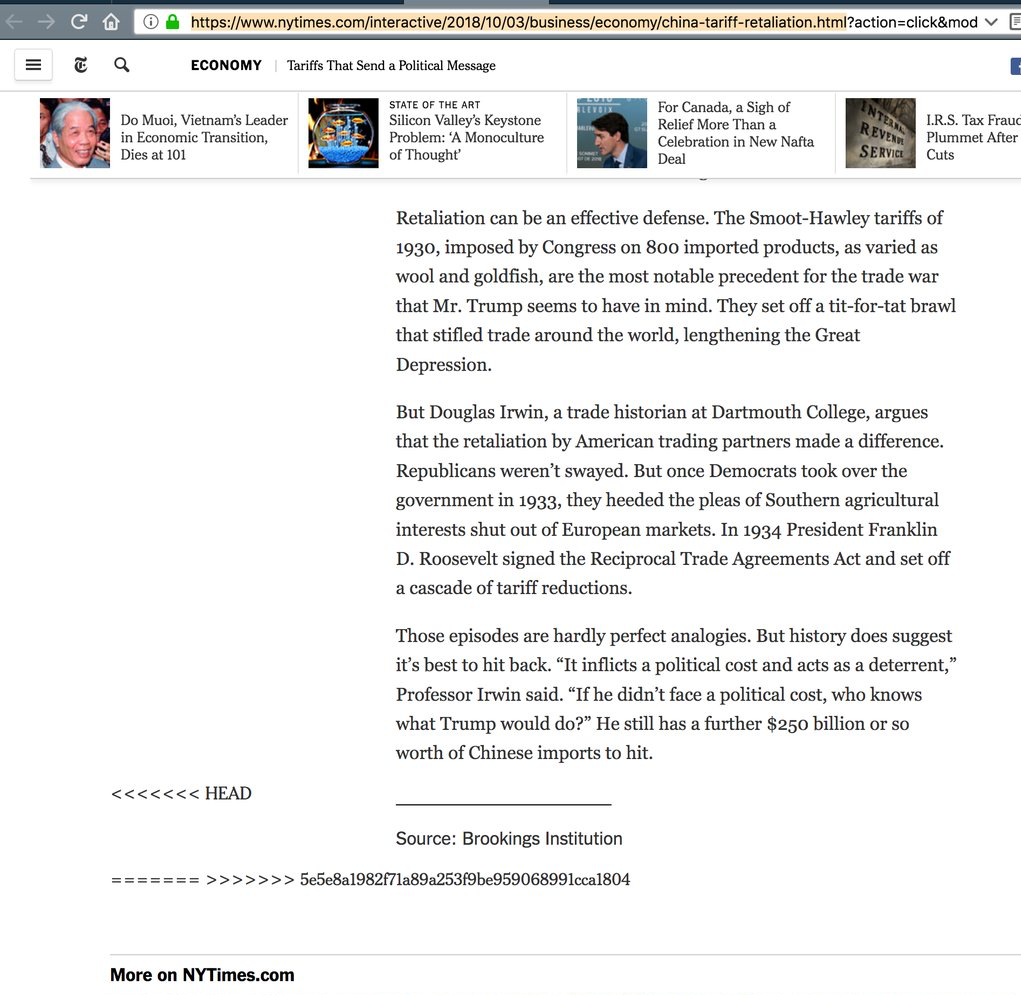
<<<<<<<HEAD indicates the change (in the above case an insertion) from the master, and the material below the ======= shows changes from your local end.
You can use your favorite text editor to manually edit the document and decide which lines to keep or remove. When you have done this, you can add, commit, and push the changes to your forked version of the repo.
git add edit_me.txt
git commit -m 'merge edit_me.txt with uptream edits'
git push origin master
You have now dealt with the discrepancies like a champ!
Merging Jupyter Notebooks
Exercise 2
We will now run through the same experiment as before, but this time each will edit the simple Jupyter notebook stored in notebook_merging/simple_notebook.ipynb. The results will not be so simple to deal with. Open the document, add a cell or two the the file, and save. Try to reconcile this with upstream master after I push a change myself.
Jupytext
Jupytext is new to us all! There is work to make its integration more seamless with JupyterLab, but it is still a bit clunky. We will explore the options available on their well laid out readme. The valuable addition that such a package provides is a conversion of notebooks into scripts of various types (.py, .md) that can then be easily version controlled with meaningful merges. To begin, you will need to install jupytext. This is a simple pip install.
pip install jupytext --upgradeThis is all you need to have to start using the tools. You can explore the ways of automatically going back and forth between a text file and notebook by editing the metadata preferences for your notebooks, but this isn't strictly necessary. To make a python script file that represents your Jupyter notebook, you can simply use
jupytext --to python notebook.ipynbThe result of this script is a .py file with your code and markdown cells formatted together. Better yet, since .py files are really just text, merge tools of git will work for them! You can store your notebooks on GitHub as this .py file, and then easily convert it to a notebook after pulling it. This conversion is achieved with
jupytext --to notebook notebook.pyJupytext has been heavily tested, ensuring that the result you get from a conversion and back gives the same notebook as you started with.
Exercise 3
Try out the same experiment we did with the text file and the Jupyter notebook on the jupytext document. Convert the file to a notebook with the above command, add a cell or two, save, convert back to a .py file, and try to merge with changes I made to the same file.
A new workflow in your repos
Based on the power of merging with a text based file, a better workflow for your repositoy would be to store your sandbox work in .py files generated with jupytext instead of pushing as notebooks. In addition to aiding with merges, this also helps limit the size of your repository: the text file is much smaller than a notebook, especially one that has non-JSONed altair plots in it. The suggested work flow is as follows:
- Edit your work in jupyter lab
- Save your notebook and keep it locally
- Convert your notebook to a .py file
- Add, commit, and push this .py file to GitHub
- Pull, convert to a notebook, and repeat